The Physician has the possibility of creating a video Teleconference for a Patient. The video Teleconference is initiated only by the Physician.
To start Teleconference:
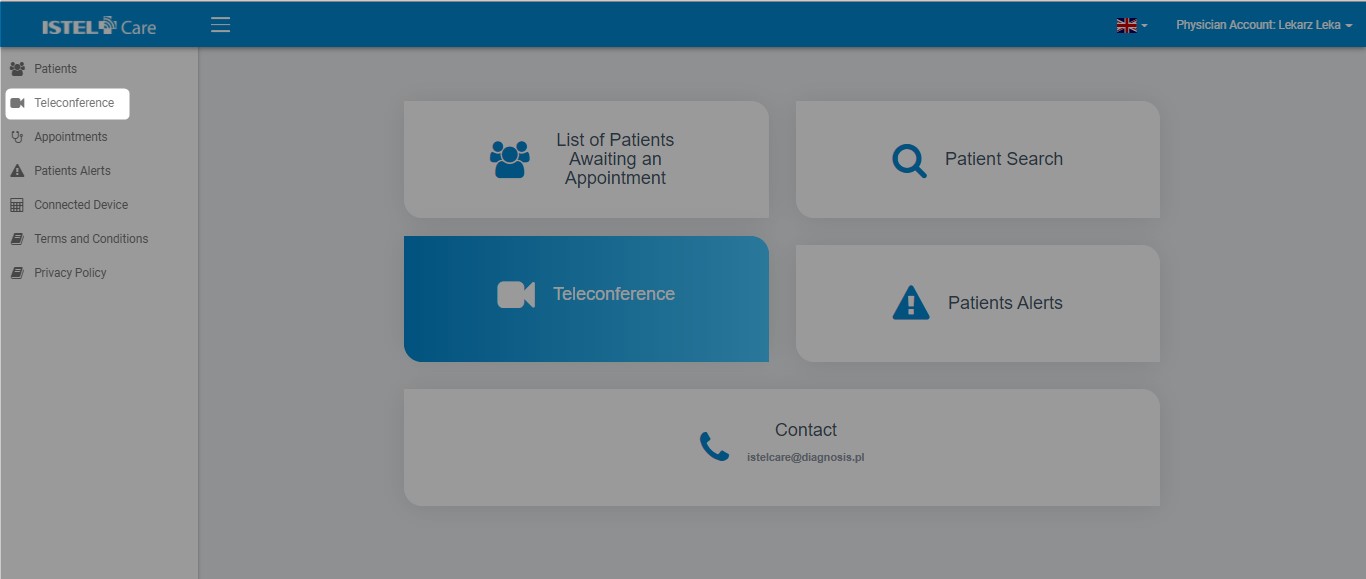
1. On the home page, click on the TELECONFERENCE tile or go to the TELECONFERENCE tab on the left.
Fig. Location of the online consultation tile on the home page
2. A list of Patients assigned to the Physician will be displayed. From the available list, select the Patient with whom you want to make a video call. You can search for a Patient by: PESEL No [Personal ID No], first and last name or his ID. Select the Patient and click the LOAD button.
If Patient has not made his/her chart available to you yet, ask for it. For more details read PATIENTS.)
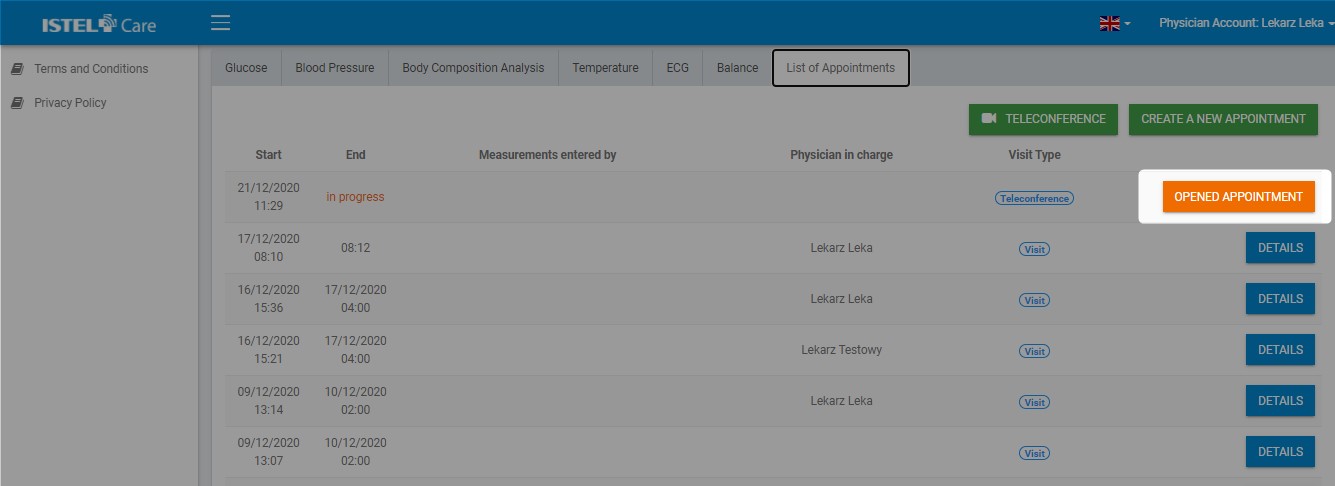
Fig. Opened appointment button
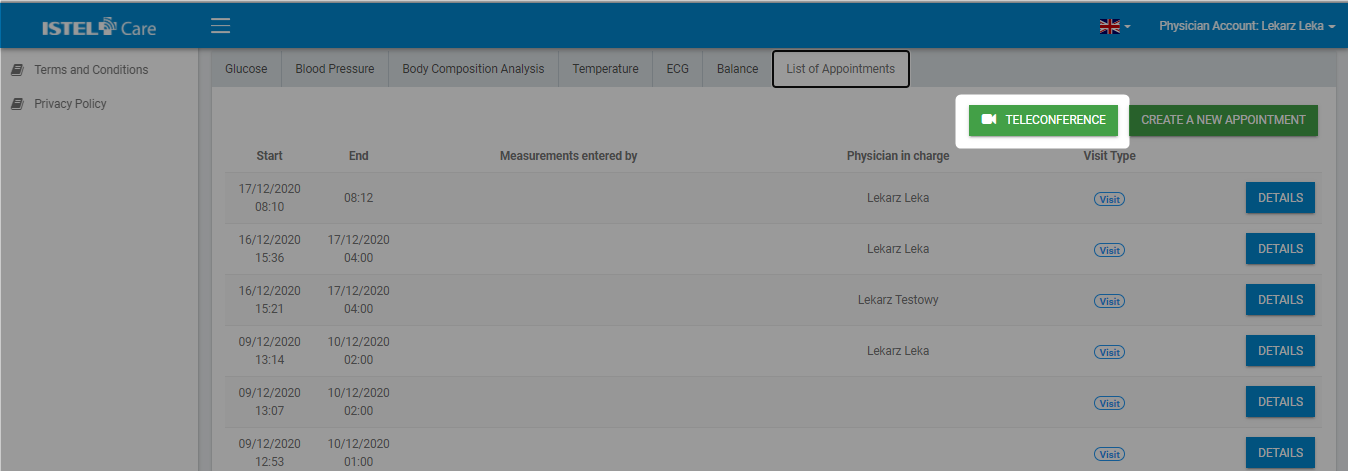
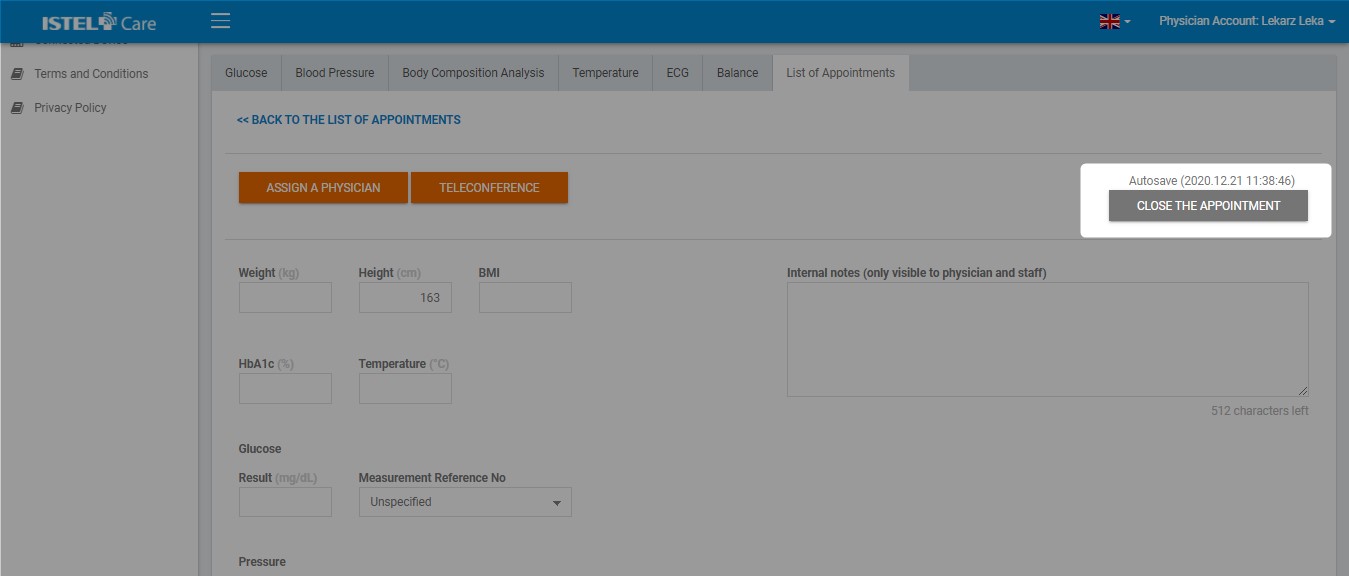
3. You will be directed to the Patient's “List of Appointments”. Select the TELECONFERENCE button to initiate the video call.
Fig: Location of the TELECONFERENCE button in the “List of appointments” tab.
The Patient will be notified of a pending Online Teleconference in the following way:
by text message (he/she will receive a link to log in to his/her Istel Care account)
by e-mail (he/she will receive a link to log in to his/her Istel Care account, provided that the e-mail address added and confirmed in the system)
After logging in to the Istel Care account in the Teleconference tab, the Patient will be able to join the video consultation
To join the Teleconference, Patient must click on JOIN.
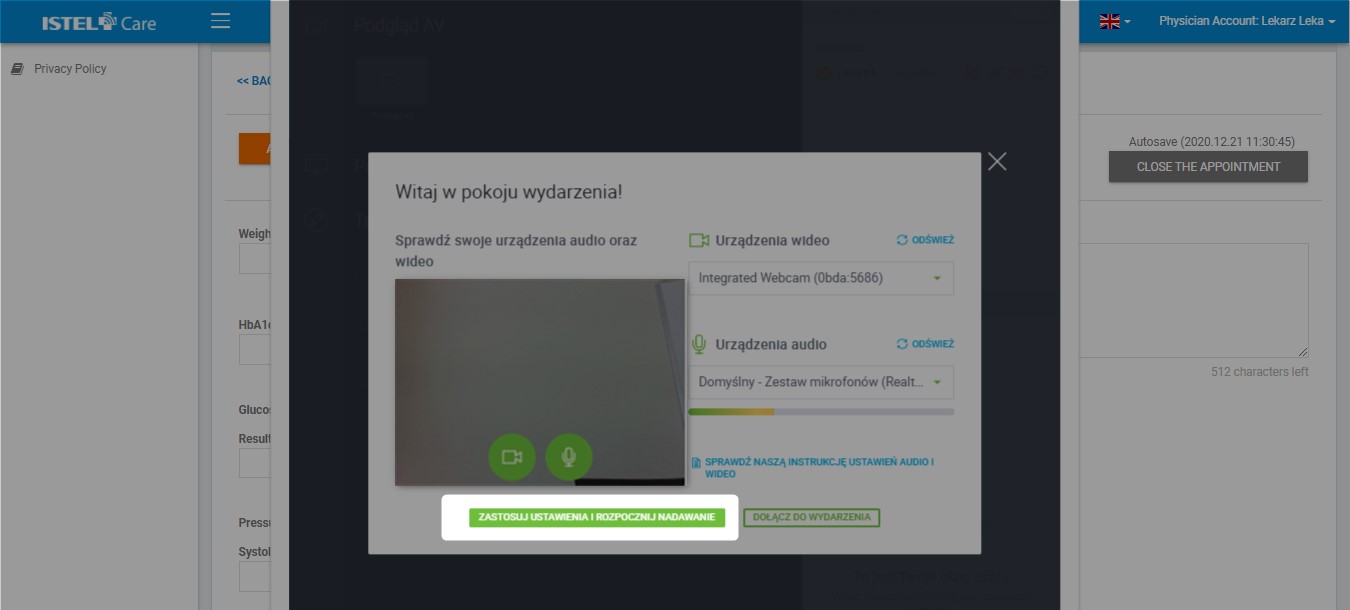
4. Select the APPLY SETTINGS AND START CONSULTATION.
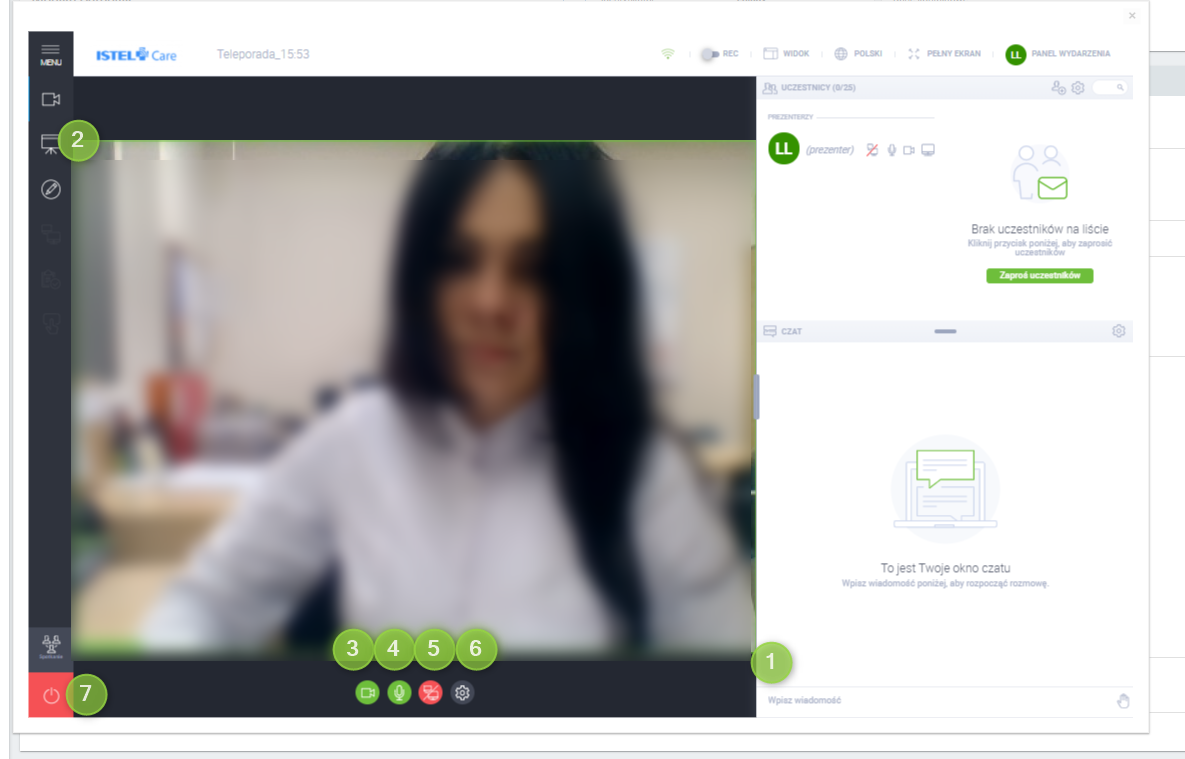
Fig. View of the window with an ongoing teleconference
During the Teleconference Patient can:
Chat with the Patient in the chat box (see 1)
Upload files, i.e. documents, test results, photos that will be visible on the screen (see 2)
Start/end the video (see 3)
Turn on/off the sound (see 4)
Enable/disable screen sharing (see 5)
Change sound and image settings (see 6)
Fig. View of the window with an ongoing teleconference
5. To end the TELECONFERENCE, click on the red “switch off” button in the lower left-hand corner of the screen (see 7).
6. A message window will appear on the screen: Do you want to end the Teleconference or just leave it? Click on the END TELECONFERENCE.
Fig. Location of END TELECONFERENCE button
7. When the Teleconference is over, go to the Patient's list of appointments to end the appointment. In the list of appointments, select the current appointment and click on the OPENED APPOINTMENT button.
Fig. View of the list of appointments with open teleconference